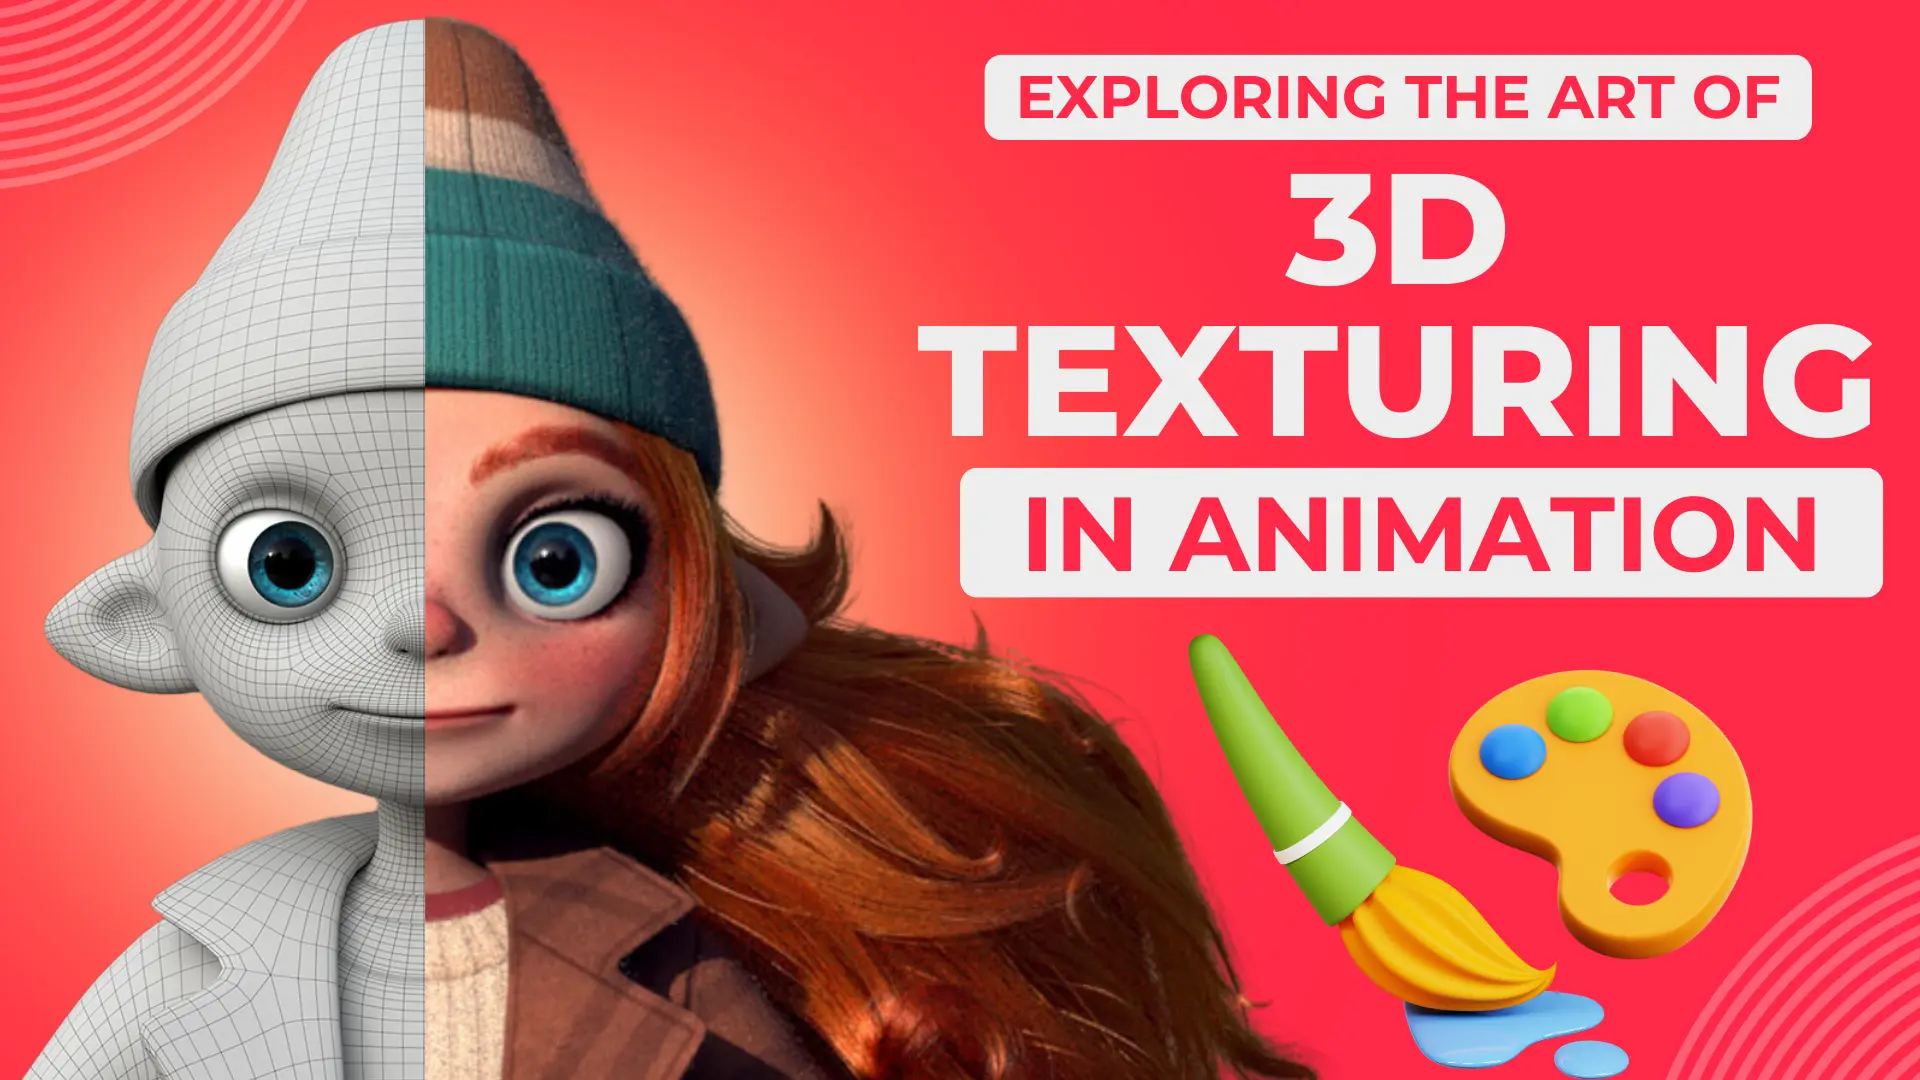
Creating 3D textures in animation is an important process that adds depth and realism to digital models. 3D texturing in animation is a process that improves the visual realism of three-dimensional models. In 3D Texturing In Animation the artists apply textures to the surface. This enhances some details such as color and reflection. Created using specialized software, 3D texturing in animations is an integral part of creating vibrant and visually impressive animations.
What Is Texturing In 3D Animation?
3D Texturing In Animation is the process of applying textures or surface details to three-dimensional computer-generated objects. It involves mapping 2D images onto 3D models to create realistic surfaces, defining how light interacts with the object. This technique enhances visual appeal and realism in animation, gaming, and virtual environments by adding depth and detail. In the world of digital design, 3D texturing techniques play a pivotal role in transforming virtual objects into lifelike entities. These advanced methods, from UV mapping to Physically Based Rendering (PBR), allow artists to meticulously craft surfaces, adding depth and realism to the 3D landscape. Mastering these techniques unlocks a realm of creative possibilities.
Importance of 3D Texturing in Animation
The importance of 3D textures in animation lies in their ability to breathe life and realism into virtual worlds. Textures give surfaces vivid detail, from the intricate patterns on a character’s clothing to the roughness of a weathered building. They contribute significantly to visual storytelling by conveying emotion and environment. 3D textures improve immersion, making animated scenes more relevant and engaging. This adds an extra layer of authenticity, allowing the audience to connect with the characters and setting on a deeper level. Essentially, 3D textures are the foundation of animation, turning digital creations into visually engaging and emotionally resonant experiences.
Evolution of 3D Texturing in Animation
The evolution of 3D sprites in animation has had a remarkable journey, from basic color mapping to complex techniques. At first, flat areas of color simply represented surfaces. As technology advanced, texture mapping and UV separation emerged, allowing artists to apply intricate details to 3D models. The emergence of specialized software such as Photoshop, Substance Painter, and Mari has revolutionized the texturing process, providing powerful tools for creating realistic surfaces. Recent trends include PBR (Physically Based Rendering) and procedural texturing, which improve visual fidelity.
What Are 3D Texturing Techniques?
3D textures are an essential aspect of animation, bringing depth and realism to virtual environments. To dig deeper into the basics, understanding UV maps is important. UV mapping involves opening a 3D model into a 2D plane and creating a template to apply textures. This process allows artists to draw or place textures precisely on the model’s surface, ensuring a seamless and realistic appearance.
3D texturing involves applying textures to three-dimensional objects to improve their visual appeal in animations, games, and virtual environments. Key techniques include UV mapping, where a 3D model is converted to a 2D model for precise texture application. Advanced methods like physical rendering (PBR) ensure realistic lighting interactions, while procedural texturing uses algorithms to create dynamic textures. Tools like Substance Painter and Mari make drawing complex sprites easy, and Substance Designer offers a node-based approach. These techniques collectively contribute to the creation of detailed and realistic surfaces in the ever-evolving field of 3D graphics.
Step-By-Step Texturing Process in The 3D World
The step-by-step texturing process in the 3D world involves meticulous steps.
- Starting with UV unwrapping, the 3D model is mapped to the 2D model for accurate texture application.
- Mesh cleanup and optimization will then ensure a consistent foundation for the textures.
- The vignette phase uses layering, brushwork, and stenciling techniques to add depth and complexity.
- This iterative process includes collaboration with other artists, facilitating a feedback loop for refinement.
Ultimately, modifying and enhancing textures helps achieve the desired level of realism or stylization, resulting in a vivid and visually appealing 3D experience
What are Some Tips for Creating Photorealistic 3D Textures?
Creating photorealistic 3D textures requires attention to detail and a nuanced approach
Below are the key tips:
- References: – Collect real-world references to understand the complexities of surface, color, and lighting.
- High-resolution textures: – Uses high-resolution texture maps to capture fine, realistic details.
- PBR Workflow: – Apply Physical Rendering (PBR) workflow to accurately represent materials in different lighting conditions.
- Realistic lighting setup: – Mimic realistic lighting scenarios to observe how textures react to different light sources.
- Layered approach: – Uses a layered texture approach, combining diffuse, specular, normal, and ambient occlusion maps for depth and honesty.
- Micro and macro details: – Focuses on micro and macro details, ensuring the pattern holds at different distances.
- Using Displacement Maps: – Implement displacement maps to add realistic geometric details, thereby improving the realism of the 3D model.
- Pay attention to hue and saturation: – Pay attention to color accuracy and saturation, considering the impact of lighting on perceived color.
- Consistent proportions: – Maintain consistent proportions between textures to avoid disproportionate details.
3D Texturing Workflow Breakdown: 3D Step Process
The 3D texturing process involves a systematic process for bringing virtual surfaces to life. Below is a description of the three-step 3D texturing process:
- Prepare 3D model: – Unwrapping UV: Unwrap the 3D model and create a 2D model for structural application. This ensures accurate mapping of textures to the model.
- Mesh cleanup and optimization: Fix an issue with model geometry, ensuring a clean foundation for optimal textures and performance.
- Texture Workflow: – Layering Techniques: Apply layered textures to create depth and complexity. This involves combining different maps, such as diffuse, feature, normal, and ambient occlusion, to get a realistic appearance.
- Using brushes and stencils: Use a variety of brushes and stencils to paint detailed textures, allowing artists to add intricate patterns or controlled details directly to the model 3D image.
- Iterative processes and feedback loops: – Collaboration with other artists: Engage in a collaborative environment, seeking feedback from colleagues to refine the structure and ensure diverse perspectives on the creative process.
- Texture review and refinement: Iterate textures based on feedback and personal evaluation, fine-tuning details, colors, and overall visual appeal to achieve the goals of the project.
Advanced Techniques in 3D Texturing
Advanced 3D texturing techniques In the ever-changing landscape of 3D texturing, advanced techniques enhance the visual experience. PBR (Physically Based Rendering) textures ensure realism by simulating how light interacts with surfaces, providing accurate reflections and reflections. Processive Texturing uses algorithms to create textures dynamically, allowing artists to efficiently create complex and diverse surfaces. Tools like Substance Designer and Substance Source provide artists with a node-based workflow for procedural texturing, as well as a rich library of pre-made materials, promoting efficiency and flexibility.
Challenges in 3D Texturing
Memory and performance limitations: – High-resolution textures require significant memory resources, which may affect performance. Finding the balance between detailed construction and optimized performance becomes a constant challenge, especially in resource-intensive projects.
Consistency across different platforms: – Ensuring consistent image quality across different platforms, such as game consoles and other devices, is a challenge. Differences in hardware and rendering engine capabilities may require adjustments to maintain a consistent and optimal visual experience.
Balancing realism and stylization: – Achieving the right balance between realistic textures and stylized aesthetics is an ongoing challenge. Finding this balance was crucial to achieving the project’s goals, as hyper-realistic textures do not always align with the desired artistic direction.
Addressing these challenges requires a thorough understanding of both the artistic and technical aspects.
The Final Takeaway,
In conclusion, 3D texturing is integral to animation, enhancing visual storytelling through detailed surfaces. We’ve explored key points, from UV mapping to advanced techniques, acknowledging the continuous evolution of the field. Encouraging exploration and innovation ensures the dynamic growth of 3D texturing, shaping immersive and visually compelling animated experiences.